Video Editing Workstation Build
MacBook Pro Accessories & Upgrades
Page 1: Overview & History, Desk Build, Cabinets
Page 2: MacBook Pro Accessories & Upgrades, Laptop Stands
Page 3: Cable Management, LED Light Bars
Page 4: Conclusion, Full Product & Material List
The new 2019 MacBook Pro 16″ comes with four Thunderbolt 3 ports, a headphone jack and no other I/O. While Thunderbolt 3 truly is amazing, additional I/O is helpful if not outright necessary.
In search of a Thunderbolt 3 Dock
After exhaustive research I chose the CalDigit TS3 Plus+ because it was the only Thunderbolt 3 Dock that I could find that had a Thunderbolt 3 output and USB-C 3.1 Gen.2 10Gbps output (along with USB A&C Gen.1 5Gbps etc.) All the other docks had a Thunderbolt 3 and the next fastest port was USB-C 3.1 Gen.1 5Gbps, half the speed.

Since my Dock Thunderbolt port is going to my 4K Monitor I wanted a fast 2nd port for my SSD that I edit from (I may upgrade to the X5 SSD). At the time of purchase the TS3 Plus+ was the only dock to offer this.

Why are the SSDs on a heat sink & do speeds change with temperature?
Answer Video
My TS3 Plus+ Port Layout
- Thunderbolt 3 – Host: MBP 16″ Computer
- Thunderbolt 3 – Downstream: LG 4K Monitor
- USB-C 3.1 Gen.2 10Gbps: T7 SSD (editing drive)
- USB-A 3.1 Gen.1 5Gpbs: T5 SSD (mirror drive)

Also (but less important to me) the TS3+ can support full 96 watt charging of the MBP 16″, so only 1 cable to the MBP is needed for everything.
Upgrading the mid 2012 MacBook Pro
While searching online for external SSDs for my 2019 MBP I stumbled on videos and websites detailing how easy and inexpensive it was to upgrade the Mid 2012 MacBook Pro.
I had previously tried a factory reset but it still beach balled and lagged even typing word documents.
So I purchased a Samsung SSD 860 EVO 1TB Internal SSD and the Crucial 16GB Kit (8GBx2) DDR3/DDR3L RAM Memory.

I used a StarTech USB 3.1 to 2.5″ SATA Hard Drive Adapter to format the new internal SSD before swapping. I didn’t clone the drive bc I did a clean install over the internet once the new SSD was installed. You can opt to format the SSD after it’s installed rather than before.
You can format the new SSD to APFS or Mac OS extended Journaled but once Mac OS Catalina is installed, it will reformat to APFS. More about formats here.

I purchased a cheap Kaisi Electronics Repair Tool Kit just for the spudgers, picks and electronics prying & opening tools. I didn’t use the cheap bits included bc I already own quality Wiha Bits but they are very expensive, only buy on sale!


Upgrading the the mid 2012 MacBook Pro Hard Drive to SSD and maxing out the RAM was relatively easy with the correct tools and material. I would strongly recommend it to anyone wanting to extend the usable life of a MacBook.

Now with a new SSD and upgrading from 4GB RAM to 16GB RAM, my mid 2012 MacBook Pro screams. No beach balls or lagging. See speed comparison video here.
External Monitor for the 2012 MBP?
Now that my MBP 2012 is in good working order, I am starting to consider continuing to use it for productivity & internet use and utilize the 2019 MBP 16″ for video and photo editing only.
I have also decided that I would like an external monitor for it and considering it isn’t 4k or USB-C, maybe I can get one cheap. Maybe even an UltraWide, that would be cool.
Time to learn about Ratios, Resolutions & Cables
Research told me that it’s best to drive a monitor at its native resolution or else it may distort the images and work the computer harder. Well that makes practical sense and sounds like good advice (playlist). More about the mathematics involved later.
Previously I had considered buying a cheaper QHD monitor for the MBP 16″ to save money and then later even considered a more expensive 4K for my 2012 to match the MBP 16″ and future proof myself. Both bad ideas!
For the MacBook Pro 16″ I spent more than I had originally planned to and went with the LG model 27UK850-W, 4K USB-C monitor, though I did get it on sale. From previous research I knew I wanted to drive the monitor at the MBP’s native resolution of 4K. I chose this model mainly because of positive reviews I read and videos I watched on YouTube. I like that it could act as a dock or hub and also charge the MacBook (but only at 60w, MBP 16″ needs 96w).

Now to pick out an external monitor for the 2012 MacBook. I was really starting to burn out doing extensive research on each and every product. I saw that my MBP was capable of QHD and on YouTube reviews I saw some people using an LG 34″ Ultrawide QHD on a MacBook Pro 2012. Great, without any further research I ordered it.

When it arrived I was excited to try out this new UltraWide experience that people can no longer live without. I am envisioning having a full tutorial video window (WordPress Blocks) playing while jotting down notes in a document on all the extra screen real-estate space.
Excitement turns to Disappointment
I can’t get the monitor & computer to display UltraWide. I can only manage to stretch the picture. Furthermore the two monitors won’t both fit on my monitor stand. It’s short by just a few inches. I may have to get a dual monitor mount arm, no biggie I was considering one anyhow.
My joy has now turned to disappointment.
What’s the problem?
- Is it a monitor setting problem?
- a computer setting problem?
- a cable problem?

Does the 2012 MacBook Pro Support Ultrawide Resolution?
It finally dawned on me that UtraWide Monitors haven’t been around that long and may not have existed in 2012. I go to apples website to pull up the MacBook Pro (13-inch, Mid 2012) Technical Specifications only to find the 2012 MacBook Pro doesn’t support UtraWide Resolution (3440 x 1440) “…and up to 2560 by 1600 pixels on an external display” QHD but not WQHD. Well I just learned something new!
So I did a little more research and came up with following aspect and resolution chart.
Monitor Aspect Ratio & Resolution
- 16:9 HD = 1280 x 1080
- 16:9 FHD = 1920 x 1080
- 21:9 WFHD = 2560 x 1080
- 16:9 QHD = 2560 x 1440
- 21:9 WQHD = 3440 x 1440
- 16:9 4K = 3840 x 2160
OK the MacBook Pro 2012 can’t output Ultra Wide Resolution (WQHD 3440 x 1440). So I go back and rewatch the review videos showing a MacBook 2012 running an Ultrawide monitor only to notice that they were just stretching the image and didn’t realize it.
Ok that’s what I get for making a purchase without fully researching it. Lesson learned, I’m more informed and better for it now, bla… bla… bla… (reality, I will forget most of this in 6 months, that’s partly why I am making this post)
I return that monitor and buy an LG 27QN600-B 27” QHD (2560 x 1440) IPS Display that almost completely matches my LG 27UK850-W 27″ 4K UHD Monitor. That is except for the stand. Oh well, I will probably purchase a dual arm monitor mount in the near future anyhow.
New 27″ QHD Monitor arrives!

Cool I can’t go wrong now. I have the proper resolution and both monitors fit on the monitor stand.
Lets plug this bad boy up and get this Quad HD thing happening!
Uhhhh…. What The Hockey Sticks?!?
I’m only getting Full HD 1920 x 1080, & on a 27″ that looks like $#!+
I double check the HDMI cable coming out of the MBP Thunderbolt 2 port going into the monitor HDMI port, all is good.
What in the world is going on!? I am just burnt out on this.
My middle son is in town form the Coast Guard for 2 weeks before being re-stationed. I asked him to look into it while I continue to research Thunderbolt Docks.

It turns out that my HDMI cable is not capable of display QHD resolution. I had no idea. I remember when HDMI was the $#!+. So I read some articles and watched some informative YouTube videos on display cables (playlist). Then I purchased a Display Port (DP) Cable and finally got QHD Resolution from my MacBook Pro 13″ mid 2012 to my new LG 27″ QHD Monitor.
And it looks great!
Finally – QHD Monitor works on Mid 2012 MacBook Pro

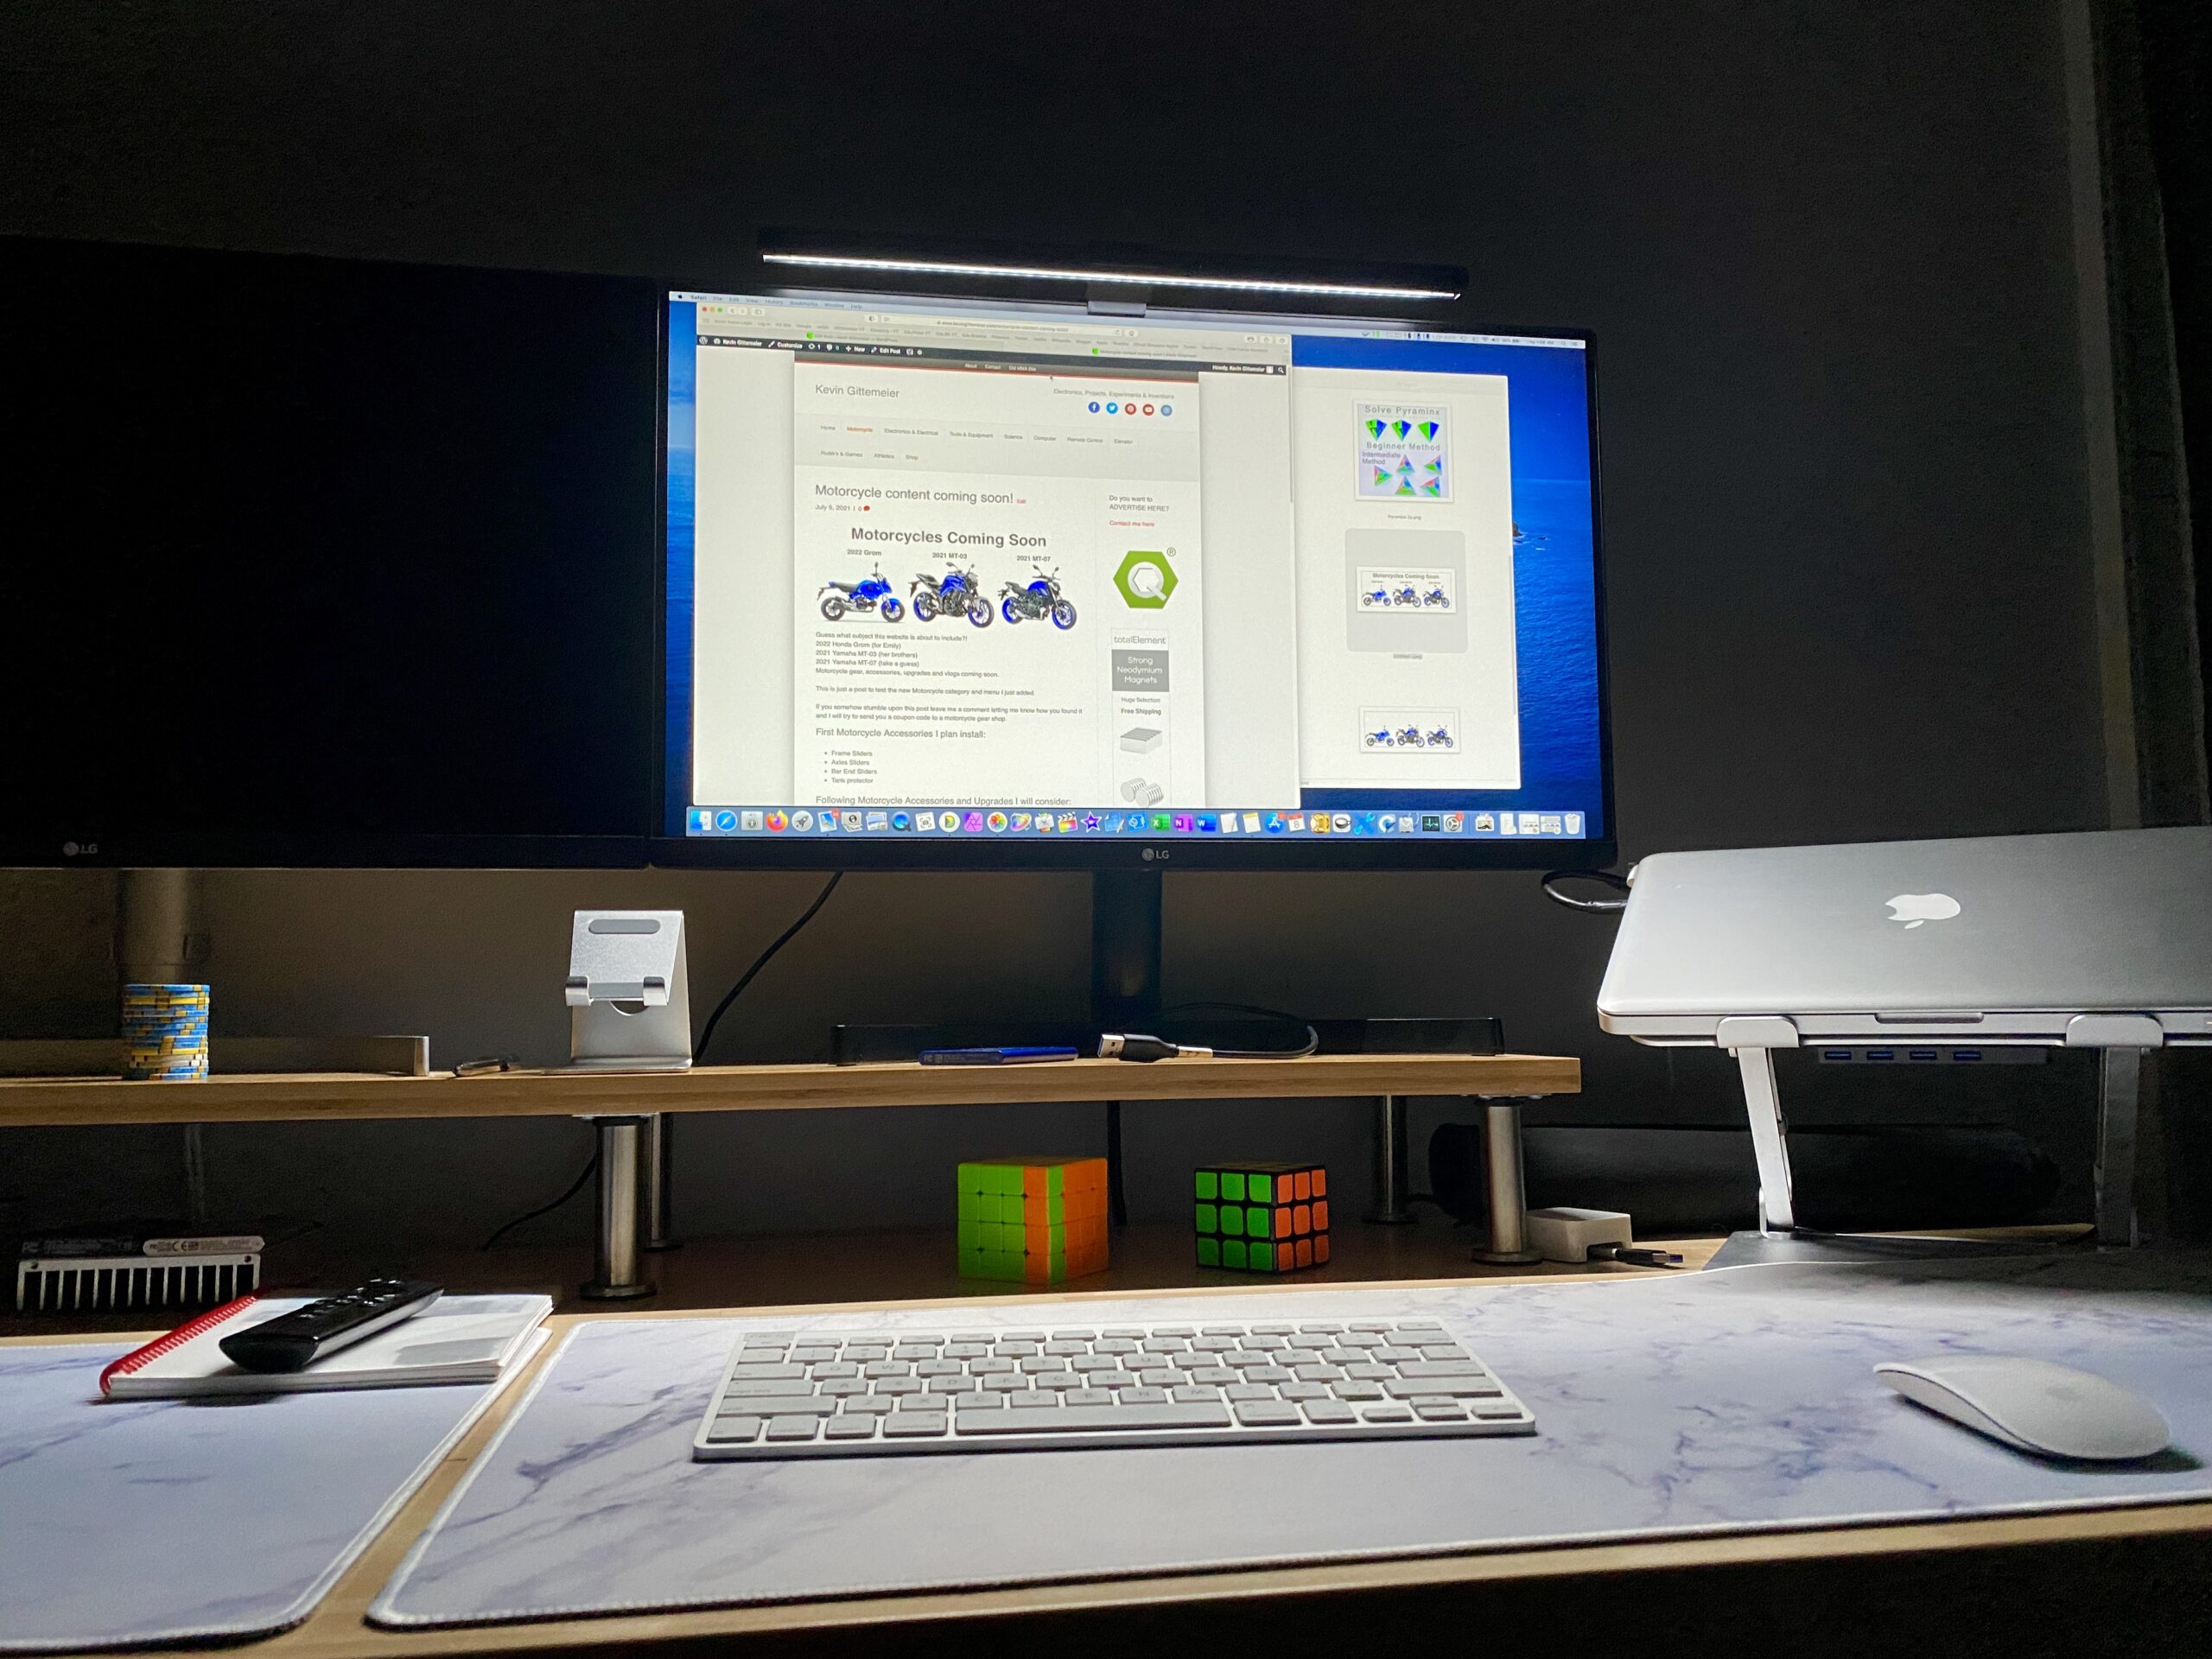
Edit 2021_07 in the dark with new BenQ ScreenBar
Products, Tools & Material List
- CalDigit TS3 Plus Thunderbolt Dock: https://amzn.to/3f5EO6s
- LG 27UK850-W 27″ 4K Monitor: https://amzn.to/2ZViwjc
- LG 27QN600-B 27” QHD Monitor: https://amzn.to/39pNsLE
- Samsung T7 External SSD: https://amzn.to/39pOMhL
- Samsung T5 External SSD: https://amzn.to/3fXEGXG
- Samsung 860 EVO Internal SSD: https://amzn.to/2WTQBye
- Crucial 16GB DDR3 RAM Kit: https://amzn.to/3jKN7Ir
- StarTech USB to SATA Hard Drive Adapter: https://amzn.to/2PovFLL
- Electronics Repair Tool Kit: https://amzn.to/2Pj0Lo3
- Wiha 65-Piece Precision Micro Bit Set: https://amzn.to/2PnWL5u
- Large Mouse Pad Marble: https://amzn.to/2WTRzKW
- Creative Pebble Desktop Speakers: https://amzn.to/2PVzQPp
- Lamicall Cell Phone Stand: https://amzn.to/39ttIGR
- Nulaxy Phone Stand Adjustable: https://amzn.to/3f0Hwd6
- Folding Headphone Stand Hanger: https://amzn.to/2ZVPvUB
- Beats Studio 3 Wireless Headphones: https://amzn.to/3f8pxln
Adjustable Laptop Stand / DIY Cooling Pad
I wanted adjustable aluminum laptop stands but I also wanted to be able to modify them somehow with a fan for addition cooling. The aluminum itself would act somewhat as a heat sink and ultra quite fans on low would draw or blow that heat away.
So I did some research and began shopping for adjustable laptop stands. The one I found that I believed would fit my needs for both height adjustability and cooling was the BoYata N19 adjustable height multi-angle stand.
I wasn’t exactly sure how I was going to add cooling fans so I just shopped online for ultra quite fans and ordered several speed controlled fans and blowers from AC Infinity.

Notice the adjustable laptop stand on the left has a fan and the stand on the right has a blower.

Because I had both fans and blowers and wasn’t really sure which would work better, I decided to make a magnetic mount by which I could easily change the fans out or remove them completely.

First I wanted to get rid of the parallel USB power port which allows the speed control to control multiple fans. I unsolder the wires from the motor, cut out the USB port then soldered the wires from the speed control directly to the motor, added some heat shrink and glued it down.


Laptop Cooler Tool List
- Soldering Iron: https://amzn.to/2PDs6RO
- Solder Sucker: https://amzn.to/3imrX1t
- Solder Mat: https://amzn.to/2PBQyDg
- Knipex Strippers: https://amzn.to/3fO1Wqt
- Flush Cut Micro Cutter: https://amzn.to/3a5Q2qC
- Glue Gun: https://amzn.to/2DPFUq0
- Heat Gun: https://amzn.to/2PCCABe
Laptop Cooler Material List
- Aluminum Laptop Stand: https://amzn.to/3eZk28f
- Magnets: 1/4 x 1/4 x 1/32 N52
- Magnets: Round 3/8 x 1/32 N52
- Adhesive Bumpers Black: https://amzn.to/3ifbTyG
- Adhesive Bumpers Clear: https://amzn.to/3a6FN5c
- Heat Shrink: https://amzn.to/2XFEHZc
- Glue Loctite Gel: https://amzn.to/3a7DDlW
- Glue Gorilla Clear Grip: https://amzn.to/2XH12FE
Use Coupon Code “KTFG” for 10% off magnets at totalElement
I simply glued magnets to the rubber feet of the fan and blower. I then glued magnets to adhesive bumpers. Some glues don’t glue to certain plastics and rubbers well. I didn’t want to research the chemistry involved in this so I just did trial and error. Between Locktight Gel super glue and Gorilla Clear Grip glue, I was able to get the magnets to stick by letting them set overnight.

I stuck the bumpers to the adjustable laptop stand and started on the speed control. I glue magnets alternating the poles on laptop stand arm and on the speed control. This makes a rock solid connection that won’t budge when I press on the slide switch, but also is removable.

It continues to amaze me how strong the speed control magnetic mount is. These magnets are only 1/32″ thick by 1/4″ square.
See my portable laptop stand held only by a few 1/16″ magnets (video).
Webpost: https://www.kevingittemeier.com/editing-workstation/

Laptop stand with the fan mounted is pictured above and stand with the blower mounted pictured below.
So which is better, the blower or the fan?
Both the cooling fan and blower work well. I have the fan set to blow air up onto the laptop and stand. I can reverse this if I like by simply flipping the fan. I have the blower set to draw air from the laptop and stand and blow it outward.

The blower has the benefit of being lower profile and I can fold the stand closed completely and still utilize the blower and stand as a laptop cooling pad. So for example I could fold the stand and put it with the laptop on it, under my monitor stand and utilize it as a laptop cooling pad.
That can’t be done with the fan though because once folded the fan intake will be obstructed by the bottom base of the laptop stand.

I use the fan stand for my 2019 MacBook Pro 16″ and I use the blower stand for the mid 2012 MacBook Pro 13″. I have rationalized how that is best due to the different air exhaust and intake of the laptops (you don’t want to be drawing air away that the laptop is trying to draw in for cooling) but in reality it probably doesn’t make much difference.
I turn the fan or blower on Low anytime I use the laptop and Medium when taxing the CPU or GPU. The fan is silent even on High but the blower makes a little bit of airflow noise on low and much more so on Medium and High. More on this in another post here.
totalElement is my magnet supplier and their magnets can be seen in many of my builds and science projects. totalElement offers great prices, fast shipping and excellent customers service.
https://totalelement.com/
Get 10% off using my code KTFG at checkout!
- Most commonly requested magnets:
- 1/2 x 1/2 x 1/16 Block Magnet: buy here
- 1/4 x 1/4 x 1/32 Block Magnet: buy here
- Strong HD Magnetic Push Pins: buy here
- Magnetic Swivel Hook HD 55lbs: buy here
- Mounting Magnets Page: shop here
- Magnet Sale Page: shop here
Page 1: Overview & History, Desk Build, Cabinets
Page 2: MacBook Pro Accessories & Upgrades, Laptop Stands
Page 3: Cable Management, LED Light Bars
Page 4: Conclusion, Full Product & Material List
Kevin, nice work! Similar circumstances here. I am using an adjustable desk on top of an old Kitchen table right now and it works but I need something more robust. I have gone full circle starting with a bench such as this and then going down the rabbit hole of motorized standing desks. I back to the rigid table set up as I stand most of the day and use a stool when I am not sitting. I have one question I am trying to find the answer to before I pull the trigger. The Gladiator says tabletop height is just over 41″ . I need closer to 43″. I know there is some adjustment in the feet but I am concerned it is either not enough to reach the 43″ or that stability may become the problem. Do you have any thoughts on this? As cool as the double top looks on your setup I would prefer not to go that route as I don’t have a woodshop. Thanks for the detailed post. Any helpyou could provide would be appreciated. Thanks
Thanks,
I don’t think there will be 2 full inches of adjustability in the leg pads but stability will not be a problem on a solid surface to max out the adjustability.
41” is just a little too low and this Gladiator really is overkill for a computer desk but I had to make a decision so I just pulled the trigger and didn’t look back.
If you can find something rock solid and unobtrusive to put under the legs to raise it 1-2 inches, then maybe still consider it because I don’t think stability will be an issue.
Good luck and let me know what you end up using and if you like it.
Thanks for the reply. I pulled the trigger. Went with 96″. Hopefully, it is as stable as the 72″ I’ll experiment with height and I will circle back and let you know how it goes. Another question I had was about the magnets on the back of the cable clips. Just a small earth magnet and some hot glue or something more than that?
Sorry for the late reply, I did not get a notification.
I used 3M industrial double-sided tape so I could easily remove later but hot glue is a good option.
The magnetic fields can interfere with some devices (I had to remove them off of power supply to stop a buzzing noise).
So I recommend using weaker thin 1/16” or even 1/32” thick 1/4” x 1/4” or 1/2” x 1/2” magnets and alternating the poles grouping two or four together. That shunts the magnetic fields and makes it attract stronger to the metal.
See my post about diy magnetic laptop stands to get idea about the alternating magnet poles and also links to magnets: https://www.kevingittemeier.com/magnetic-shelf-v2/
Also I found they do sell risers specifically to lift furniture.
Search furniture riser or heavy duty bed lifts.
In hindsight I could use the extra space of a 96 inch so let me know how it works out.