Video Editing Workstation Build
Cable Management
Page 1: Overview & History, Desk Build, Cabinets
Page 2: MacBook Pro Accessories & Upgrades, Laptop Stands
Page 3: Cable Management, LED Light Bars
Page 4: Conclusion, Full Product & Material List
For Cable Management I utilized some products and came up with some clever modifications and ideas that focuses more on practicality and serviceability than aesthetics. Having said that, aesthetically it turned out great! Most cables are out of sight yet everything is easy accessible, nothing bound together in wire loom making it difficult to add or remove a cable.
Although this is the 10″ butcher block shelf I have since removed, we can see that the power cables were held into place by Cable Clips / Cable Drops / Cable Holders and excess cabling coiled with BlueLounge Cable Clips. The wires and cables on the back plain of the Standing Desk run on tracks of 3M Command Hooks where they can be easily added or removed.

Unrelated but check out the cable and wiring in the last elevator modernization I did (video). To fully appreciate this, you would have to know how bad most are (pictures coming soon).
Cable Management Material List
- BlueLounge Cable Clip Small (CC-SM-EU): https://amzn.to/3hEa9yr
- Bluelounge CableClips, Medium (CC-MD): https://amzn.to/2ZVd0gC
- BlueLounge Cable Clips, Large(CC-LG-EU): https://amzn.to/2CLjhmf
- Bluelounge Design SO-WH Sumo: https://amzn.to/3a7rvkS
- OHill Multipurpose Cable Clips Holders: https://amzn.to/2ZXNMy3
- SOULWIT Cable Holder Clips: https://amzn.to/39rV4xa
- 3M Command Wire Hooks Clear: https://amzn.to/2XFqkE8
- 3M Command Mini Hooks Clear: https://amzn.to/2EWsoBd
- VELCRO One-Wrap Thin Ties: https://amzn.to/2PyTYGZ
- VELCRO One-Wrap Bundling Ties: https://amzn.to/2DPH2cR
- 3M Dual Lock Re-closable Fastener Clear: https://amzn.to/3il4duK
- Scotch Mounting Tape: https://amzn.to/33HfukU
- Magnets: 1/4 x 1/4 x 1/32 N52
- Magnets: 1/2 x 1/4 x 1/32 N52
- Shop Magnets here
I used the 3M Command hooks to make tracks to place wires & cables for easy install and removal. The cables just rest in the hook tracks running on the back plain of the Standing Desk.


3M Stotch Dual Lock Extreme Reclosable Fastener used to mount a CyberPower Surge Protector power strip to the desk backplane. This is far more secure than using Hook & Loop Velcro yet still removable.
I applied magnets to the back the the small blue CyberPower Outlet/USB strip for easy mounting on the back of the metal desk legs yet easily repositioned if needed.

I use the larger power strip for permanently plugged in devices that don’t need to be UPS battery backed up but need to be surge protected. For instance my MacBook Pros, Monitors, RavPower USB Charging Station, USB Cooling Fans.
I use the small blue CyberPower Outlet/USB power strip for any non-permanent power needs like charging an additional windows laptop, USB desk fan, etc. It’s more of a temporary use outlet/usb power supply which is why I like it easily movable with the magnetic mount.

I added magnets to the BlueLounge Cable Drops with Scotch Double Sided Mounting Tape which allows them to easily mount to the back of my all steal construction Laura Davidson filing cabinets.

Magnets added to Medium (Blue) BlueLounge Cable Clip to secure excess Apple Time Capsule power cord to the back of my all metal Stockpile file cabinet.


I modified the OHill Cable Clips by clipping off the tips for easier cable insertion and removal of the larger powerstrip cables and also added magnets for mounting to Metal Standing Desk Legs.

2012 MacBook Pro Cable Management
The 2019 MacBook Pro 16″ when paired with the TS3+ Thunderbolt Dock only needs one cable connection to the computer for everything. The one Thunderbolt 3 cable handles charging, monitor, HDD, SSD, keyboard, mouse.. everything!
The 2012 MPB needs the power cable and external monitor cable plugged in at all times (I don’t use it w/o monitor while on desk) and when needed I plug in the WD 12TB RAID Drive (which has the 8TB Seagate daisy chained through it) and a 4 Port USB Hub.
Yet all this still looks clean and all the cable are easily accessible and serviceable.

I firmly attached a USB 3.0 Hub to my laptop stand with Scotch Double Sided Mounting Tape. I DO NOT recommend using regular Velcro (hook & loop) to mount most things because they will flex and push around which is extremely annoying.
If you would like an object mounted firmly yet still removable use 3M Dual Lock Reclosable Fastener (Outdoor Velcro). Be warned it’s not easily removed like hook & loop velcro.


Notice the OHill Double Slot Cable Holder mounted to the underside of the laptop stand secures both the DisplayPort Monitor Cable and a USB-A Cable which is attached to an OHill Single Slot Cable Holder on the back of the monitor.
This USB-A Cable is to my 4 Port USB 3.0 HUB. I only plug it in when needed for multiple Flash Drives etc. My two USB ports on the 2012 MacBook Pro are usually enough and I plug hard drives or iPhones directly into the MBP and not the HUB.
I just grab it from the back of the monitor when needed and plug into the USB port on the MacBook.
My WD 12TB RAID USB cable rest on my desk under a BlueLounge Sumo. Its my storage drive and I only plug the USB into the computer when I am actively using the drive to store data or retrieve data. I leave it unmounted and USB unplugged when not in use. More on Data Management and Workflow here.

To the left you will see a larger 140mm AC infinity Speed Controlled USB fan I use as a personal desk fan bc its quieter and has less (no) vibration than my Sharper Image SBS1-SI Small Personal USB Fan. I was really disappointed in the Sharper Image Fan.
I use VELCRO Brand One Wrap Thin Ties for added cable management on the back of the monitors and also on the laptop Stand for the DisplayPort monitor cable and laptop power cord routed down the arm.

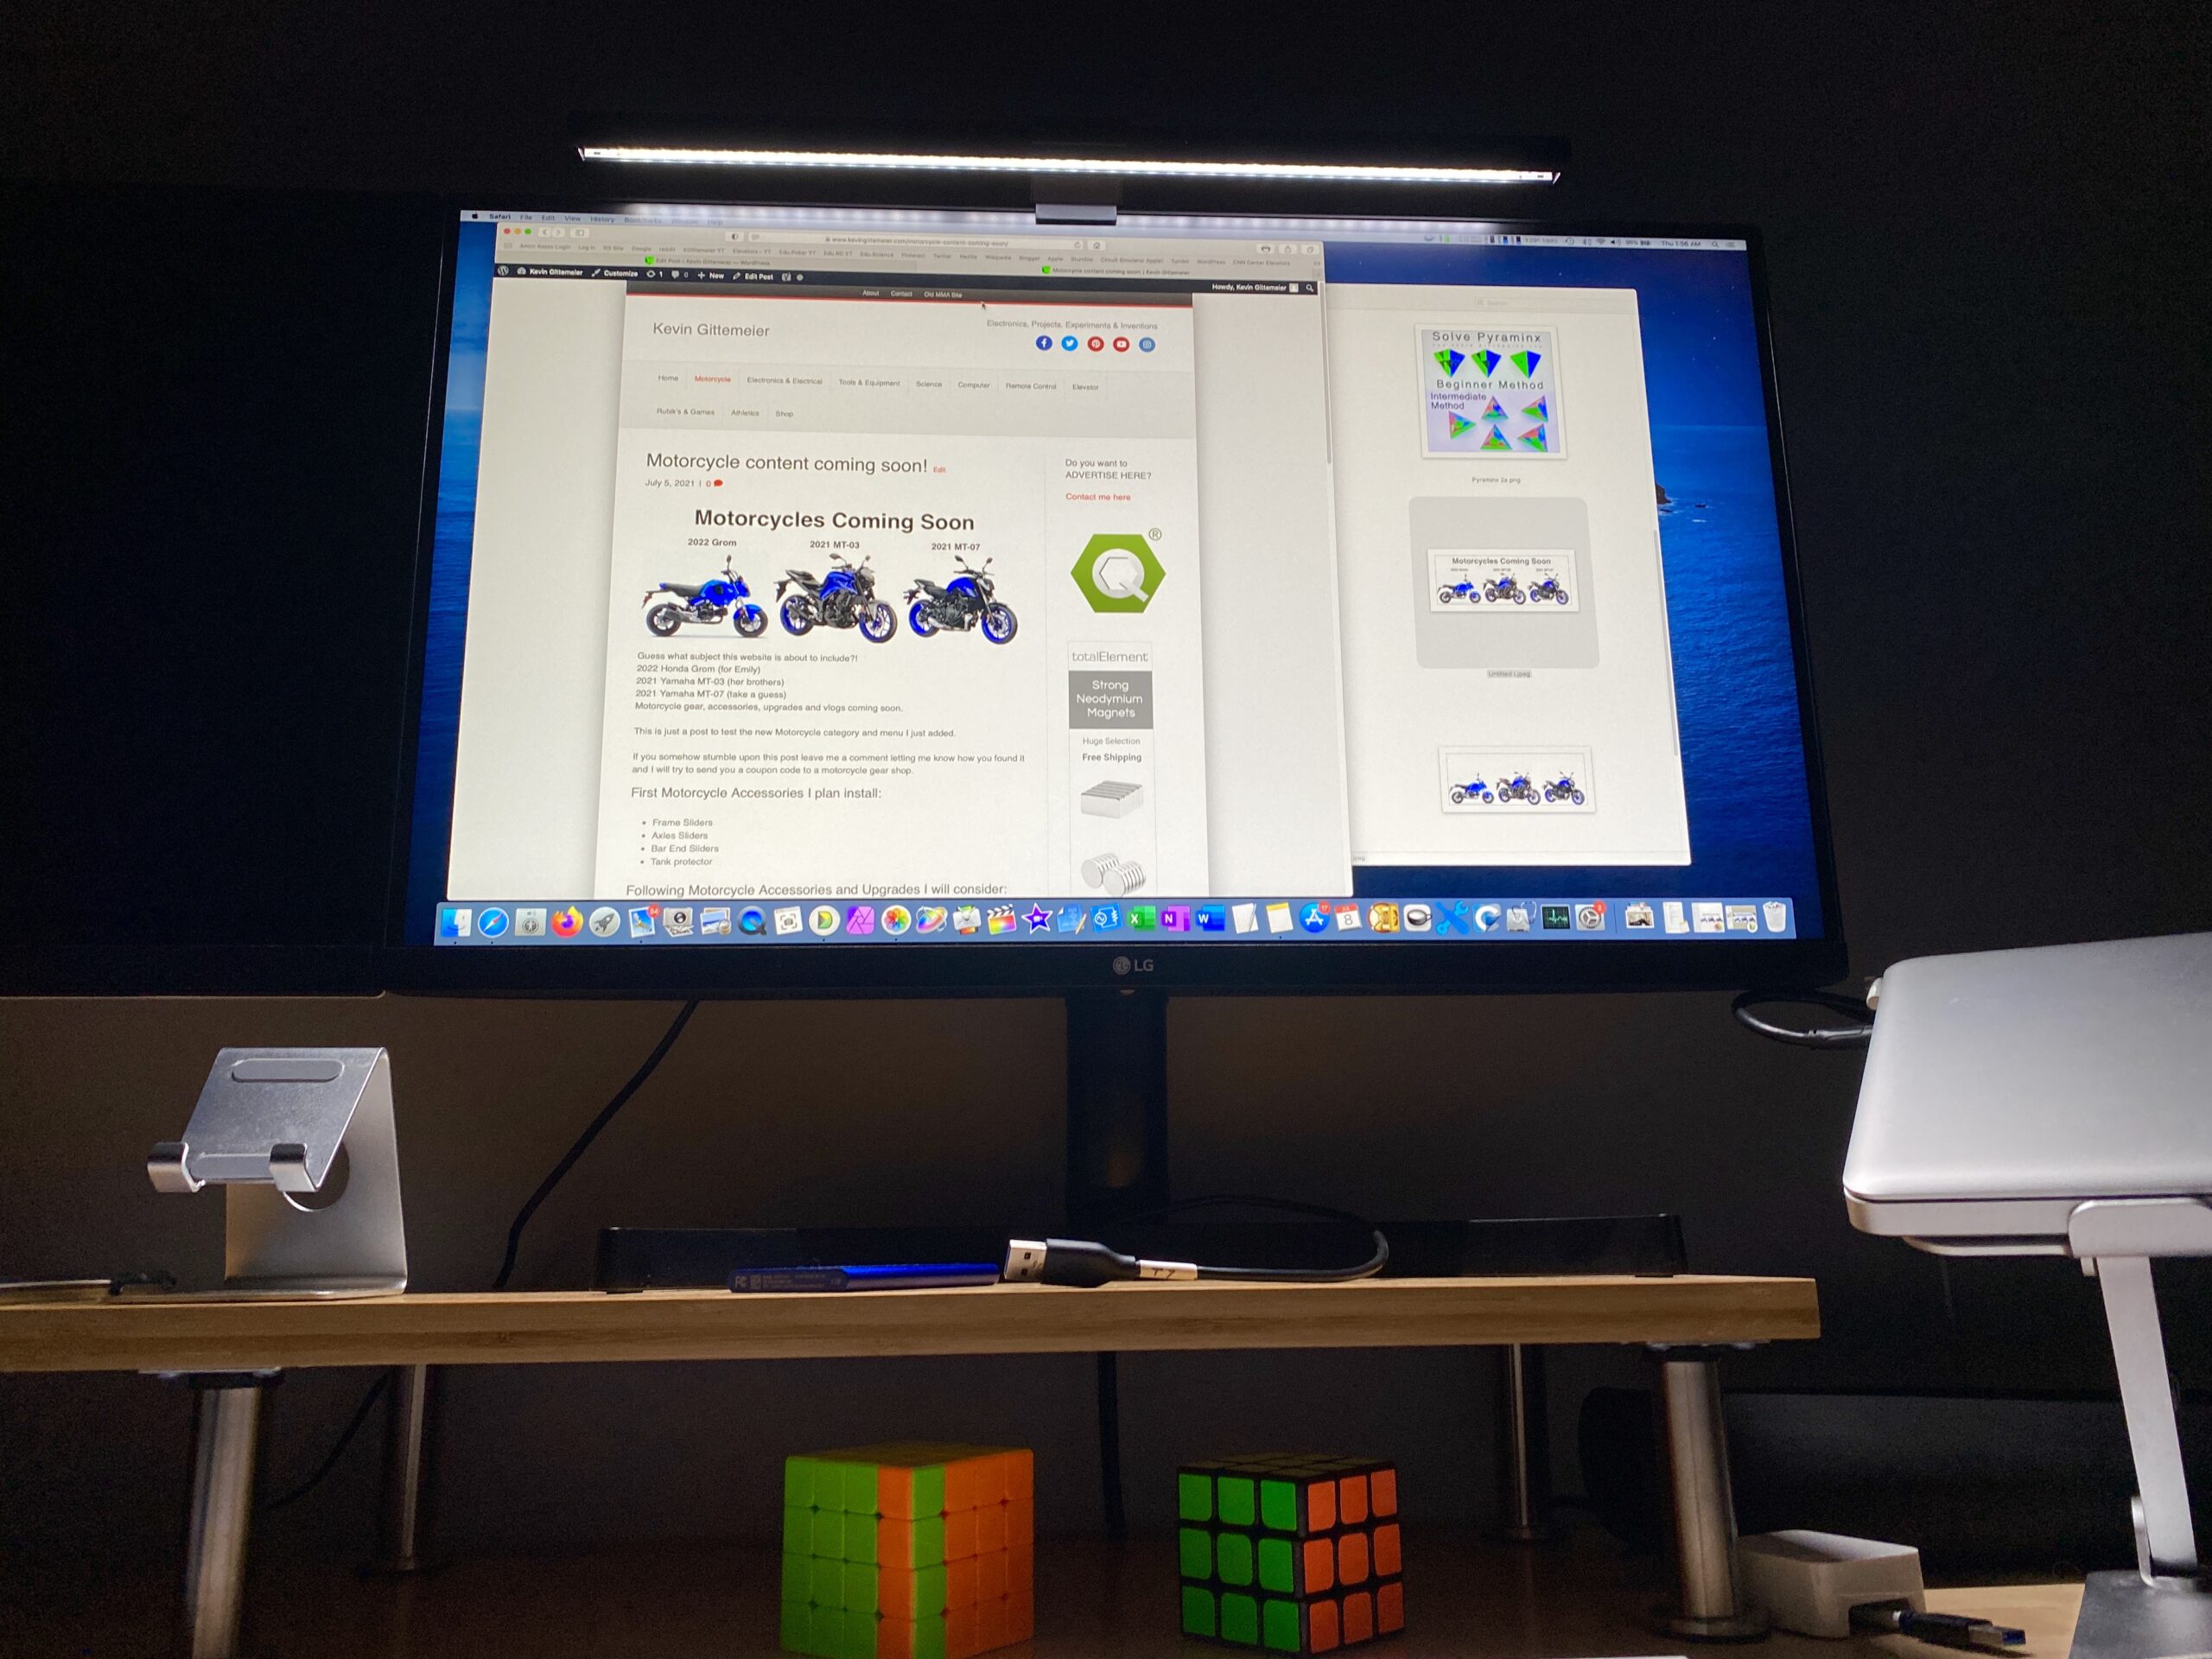
Edit 2021_07 I have been using the ScreenBar LED Monitor Light that BenQ sent me, and I have to say that it makes working in the dark much easier on the eyes. It also adds some clean additional lighting when shooting video or photos on my desk. It doesn’t quite offer enough light mounted between the two monitors for both at night so I just move it over to the monitor I am using. When I want general lighting on the table I move Light Bar to the center.

DIY LED Bar Back Lighting
I made two RGB LED Bars from old RGB LED Strips and aluminum square tubing for the base and heat sink (strips can get hotter than you realize, video).
The LED Bars consist of one long LED Strip applied to 3 of the 4 sides of the aluminum square tube and looped at the ends to prevent tight bends.
Below is the aluminum tube for the 60″ LED Bar for the desk. It’s just an old Adams Elevator Detector Edge that I saved for no other reason than being a packrat. It came in handy so that must justify all the other packrat junk cluttering my basement.


I cut off a smaller 42″ piece for the monitor LED Bar. I just use a splitter after the controller so I can use the same controller and power supply for both LED bars.
I could also use a power supply splitter and two separate controllers on the same remote if it overpowered the controlled.


The same LED Stips on a bed frame in 2015
Install video: https://youtu.be/6yqDttlYXuY
Sound Activated RGB Music Controller: https://youtu.be/wQqicmR2Kpc
I applied 1/32″ magnets under the back of the desk and to the LED Bar so I could easily remove the LED Bar. I didn’t want to apply the LED strips directly to my desk.

For the monitors I applied two 3M Command Hooks to allow the LED Bar to rest on the hooks for easy removal. I bent the hooks open a little wider to better accommodate the bar.
These are the same hooks I used as Cable Management tracks on the backplane of the desk.


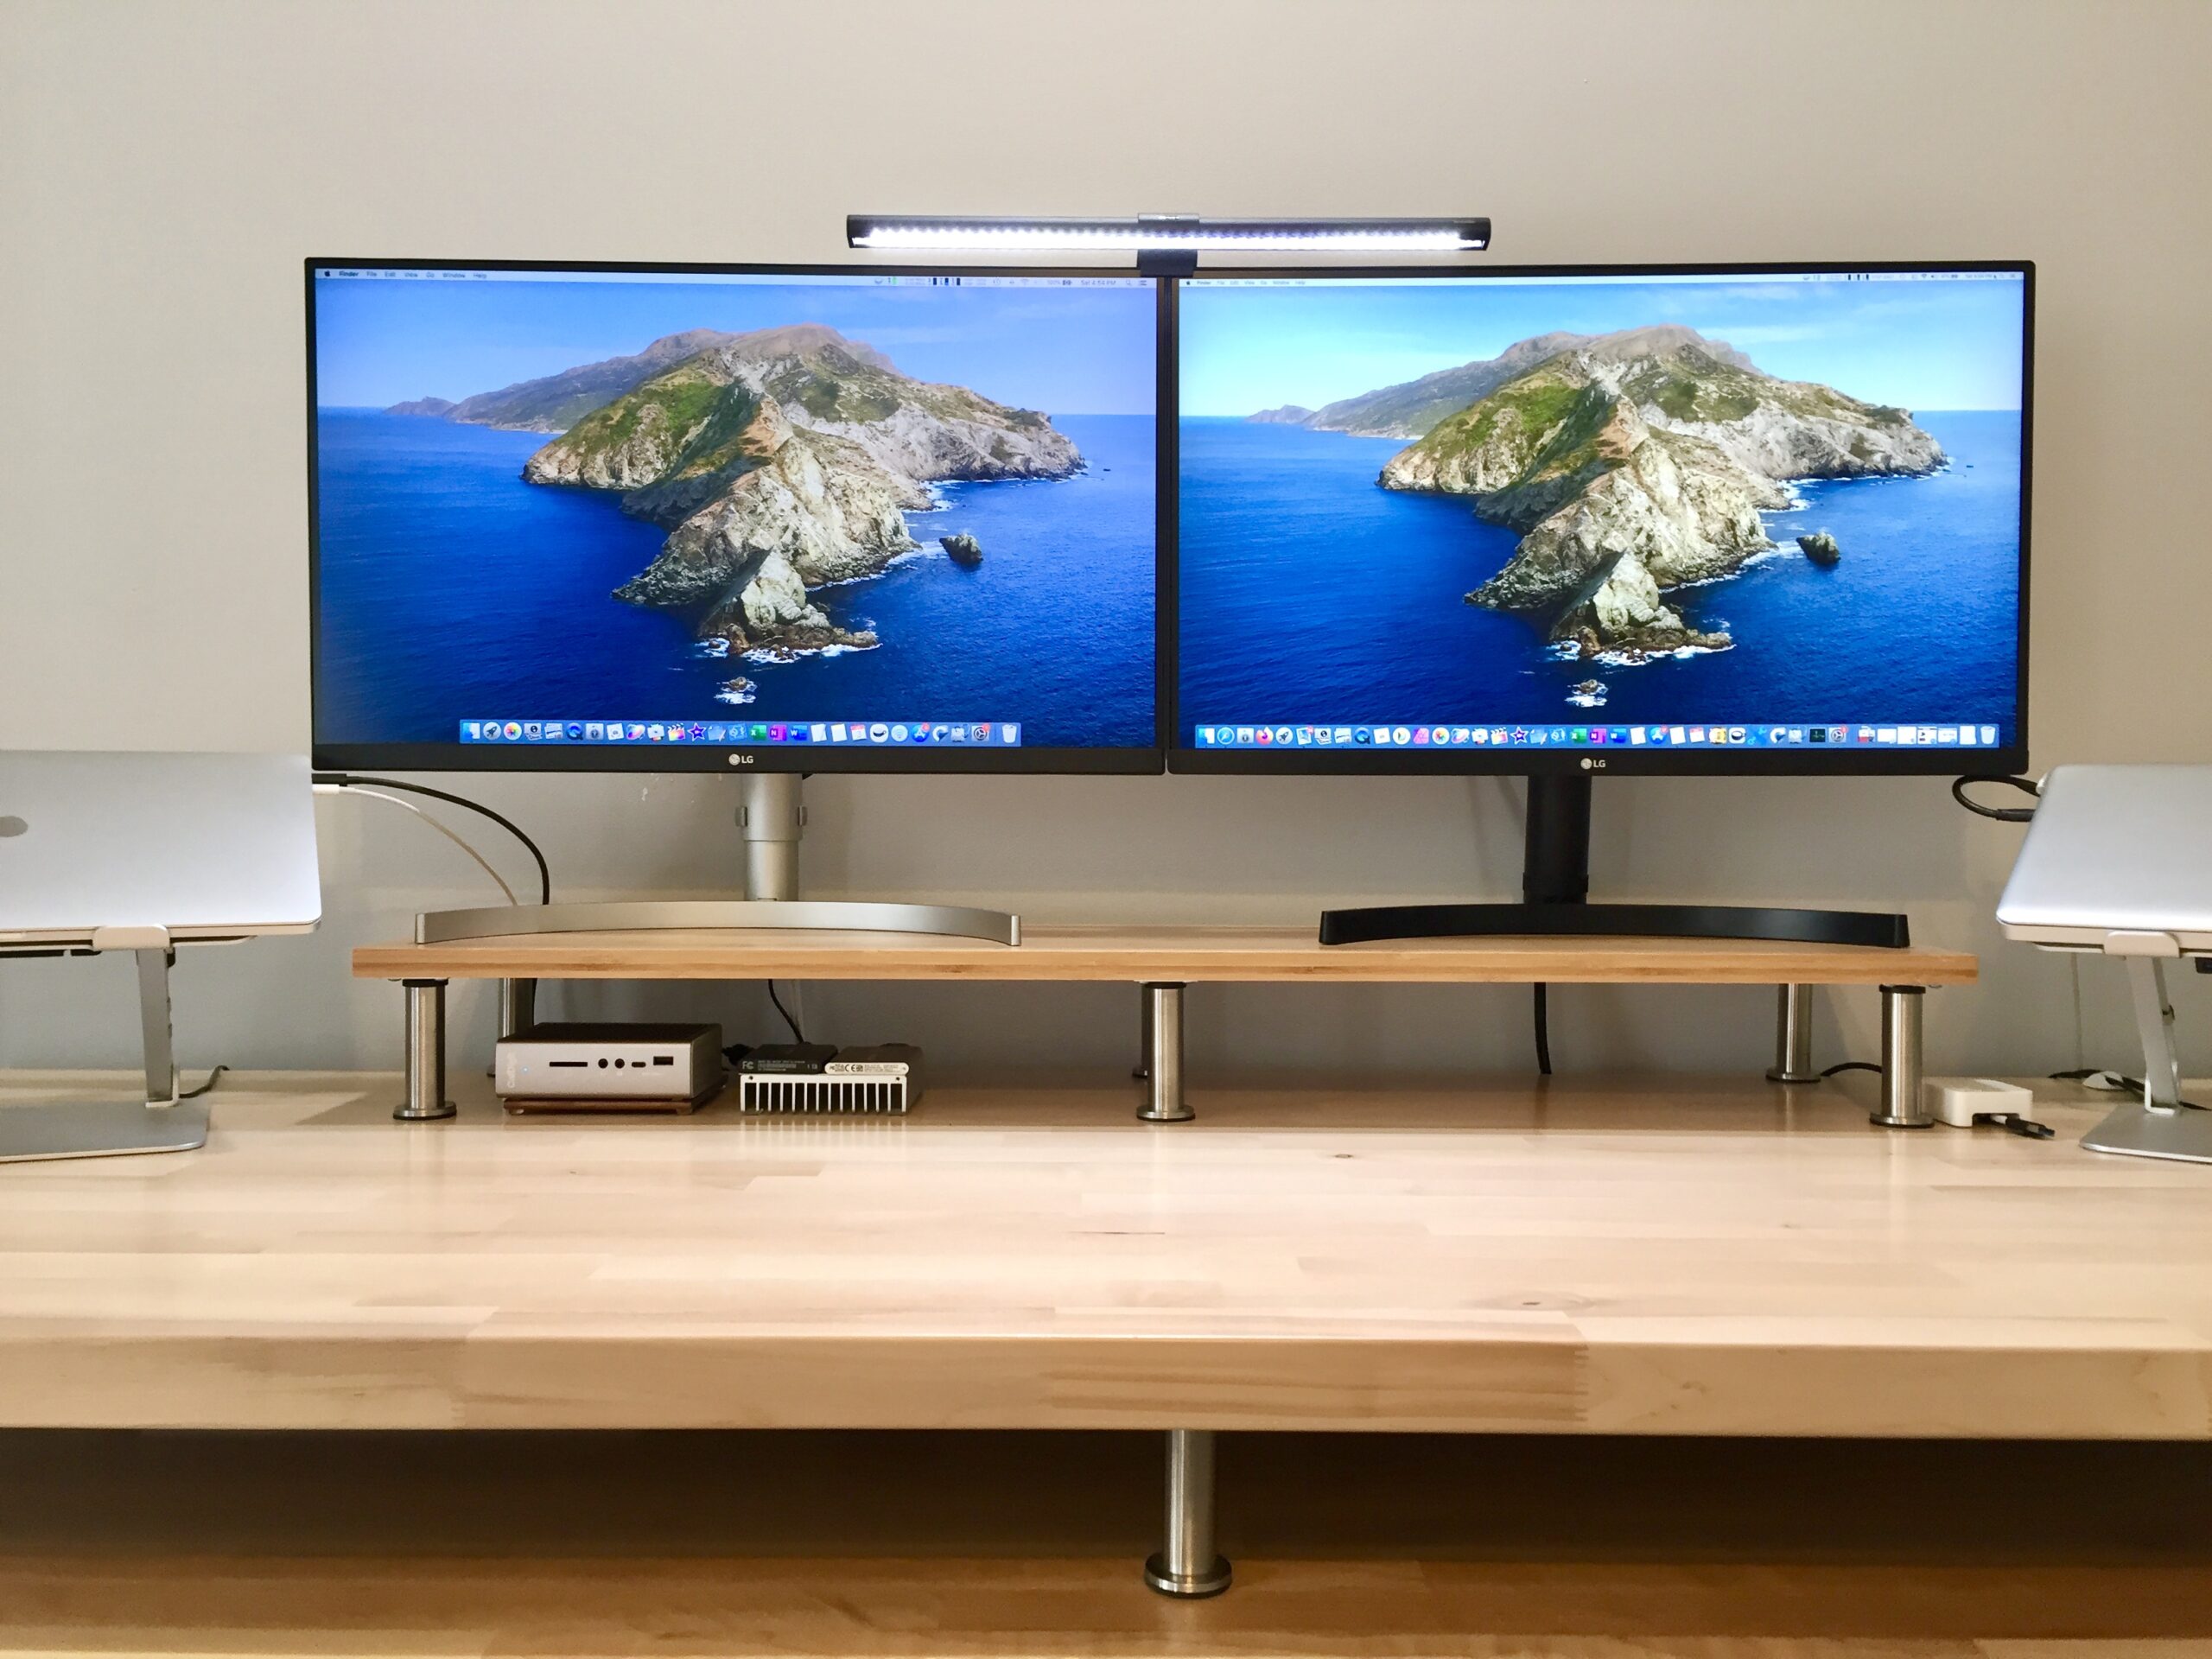
The 60″ Desk LED bar is mounted to the top back of the desk with ultra thin 1/32″ thick magnets. The LED desk bar does a good job of lighting up the middle storage section and the back of the desk when adding or removing anything.

It also offers nice ambient backlighting but I really don’t use it for that. I primarily use it for light to see with. Because its RGB, it’s not a true white light and has a slight bluish tint when set to white.
Located in the storage layer is a RAVPower 60W 12A 6-Port Desktop USB Charging Station https://amzn.to/2Ed5EMV I use to charge or power devices.


Photos below demonstrate the RGB LED Bars on each individual color – Red, Blue and Green. White is achieved by illuminating all three RGB LEDs simultaneously and is not a true white.


I don’t intend to use the RGB colors and primarily added the LEDs for light behind the desk when adding or removing cables and devices.


Random Desk Photos Below
Why is this photo here, was it to show the Seahorse case that I house external hard drives in, that I also use for panel mount electronics?
I don’t remember adding it.

My (Derick “The Black Beast” Lewis) Fan


totalElement is my magnet supplier and their magnets can be seen in many of my builds and science projects. totalElement offers great prices, fast shipping and excellent customers service.
https://totalelement.com/
Get 10% off using my code KTFG at checkout!
- Most commonly requested magnets:
- 1/2 x 1/2 x 1/16 Block Magnet: buy here
- 1/4 x 1/4 x 1/32 Block Magnet: buy here
- Strong HD Magnetic Push Pins: buy here
- Magnetic Swivel Hook HD 55lbs: buy here
- Mounting Magnets Page: shop here
- Magnet Sale Page: shop here
Page 1: Overview & History, Desk Build, Cabinets
Page 2: MacBook Pro Accessories & Upgrades, Laptop Stands
Page 3: Cable Management, LED Light Bars
Page 4: Conclusion, Full Product & Material List
Kevin, nice work! Similar circumstances here. I am using an adjustable desk on top of an old Kitchen table right now and it works but I need something more robust. I have gone full circle starting with a bench such as this and then going down the rabbit hole of motorized standing desks. I back to the rigid table set up as I stand most of the day and use a stool when I am not sitting. I have one question I am trying to find the answer to before I pull the trigger. The Gladiator says tabletop height is just over 41″ . I need closer to 43″. I know there is some adjustment in the feet but I am concerned it is either not enough to reach the 43″ or that stability may become the problem. Do you have any thoughts on this? As cool as the double top looks on your setup I would prefer not to go that route as I don’t have a woodshop. Thanks for the detailed post. Any helpyou could provide would be appreciated. Thanks
Thanks,
I don’t think there will be 2 full inches of adjustability in the leg pads but stability will not be a problem on a solid surface to max out the adjustability.
41” is just a little too low and this Gladiator really is overkill for a computer desk but I had to make a decision so I just pulled the trigger and didn’t look back.
If you can find something rock solid and unobtrusive to put under the legs to raise it 1-2 inches, then maybe still consider it because I don’t think stability will be an issue.
Good luck and let me know what you end up using and if you like it.
Thanks for the reply. I pulled the trigger. Went with 96″. Hopefully, it is as stable as the 72″ I’ll experiment with height and I will circle back and let you know how it goes. Another question I had was about the magnets on the back of the cable clips. Just a small earth magnet and some hot glue or something more than that?
Sorry for the late reply, I did not get a notification.
I used 3M industrial double-sided tape so I could easily remove later but hot glue is a good option.
The magnetic fields can interfere with some devices (I had to remove them off of power supply to stop a buzzing noise).
So I recommend using weaker thin 1/16” or even 1/32” thick 1/4” x 1/4” or 1/2” x 1/2” magnets and alternating the poles grouping two or four together. That shunts the magnetic fields and makes it attract stronger to the metal.
See my post about diy magnetic laptop stands to get idea about the alternating magnet poles and also links to magnets: https://www.kevingittemeier.com/magnetic-shelf-v2/
Also I found they do sell risers specifically to lift furniture.
Search furniture riser or heavy duty bed lifts.
In hindsight I could use the extra space of a 96 inch so let me know how it works out.